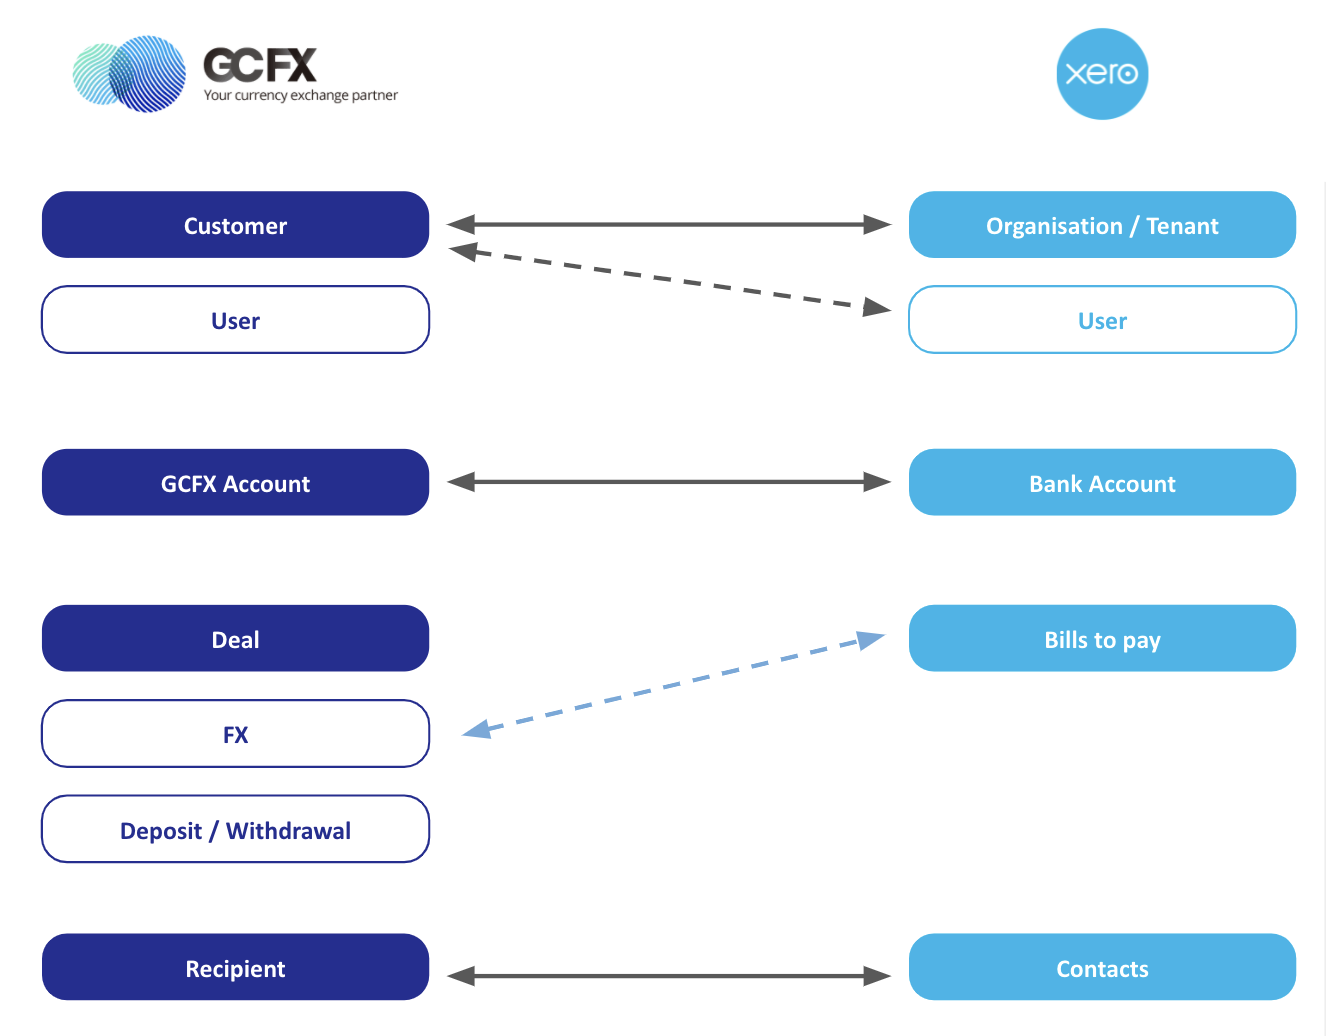
You can connect to Xero from GCFX or starting from the bank account adding panel on Xero.
Check out the steps below to connect or learn more about the data flow & terminology here.
Connecting from GCFX
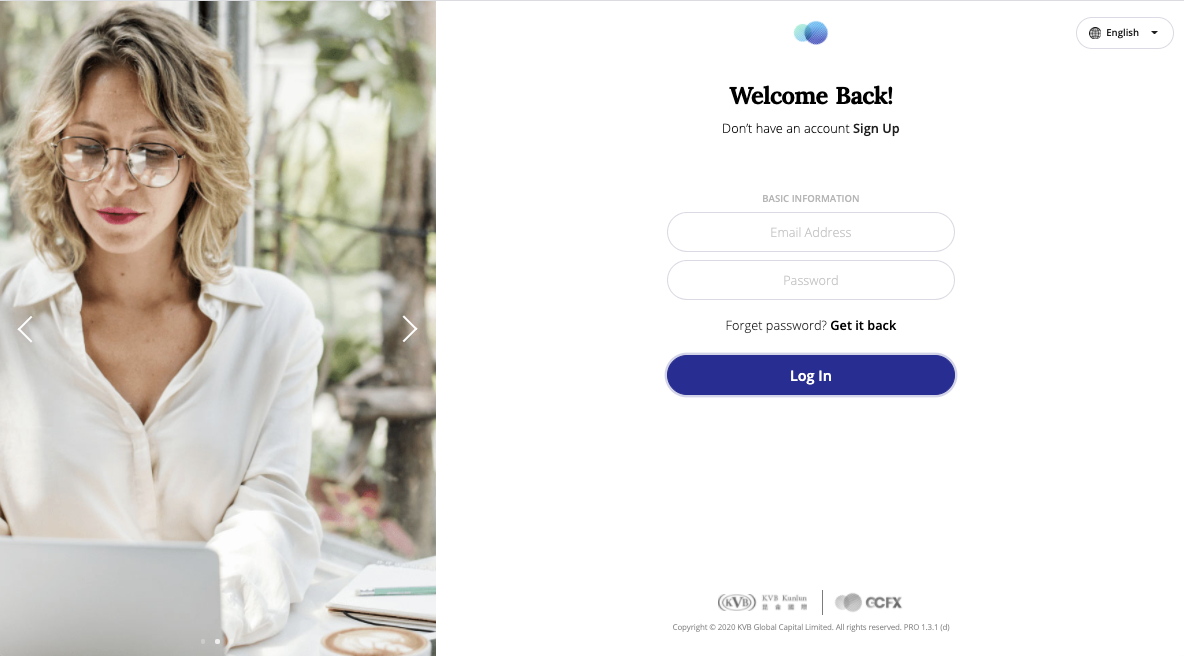
1. Login to GCFX web or App using your user account (if you don’t have a GCFX Business account, sign up for a new one)
2. After login, navigate to “Setting” and check the “Connected Application” section, review status on “Xero Accounting” row
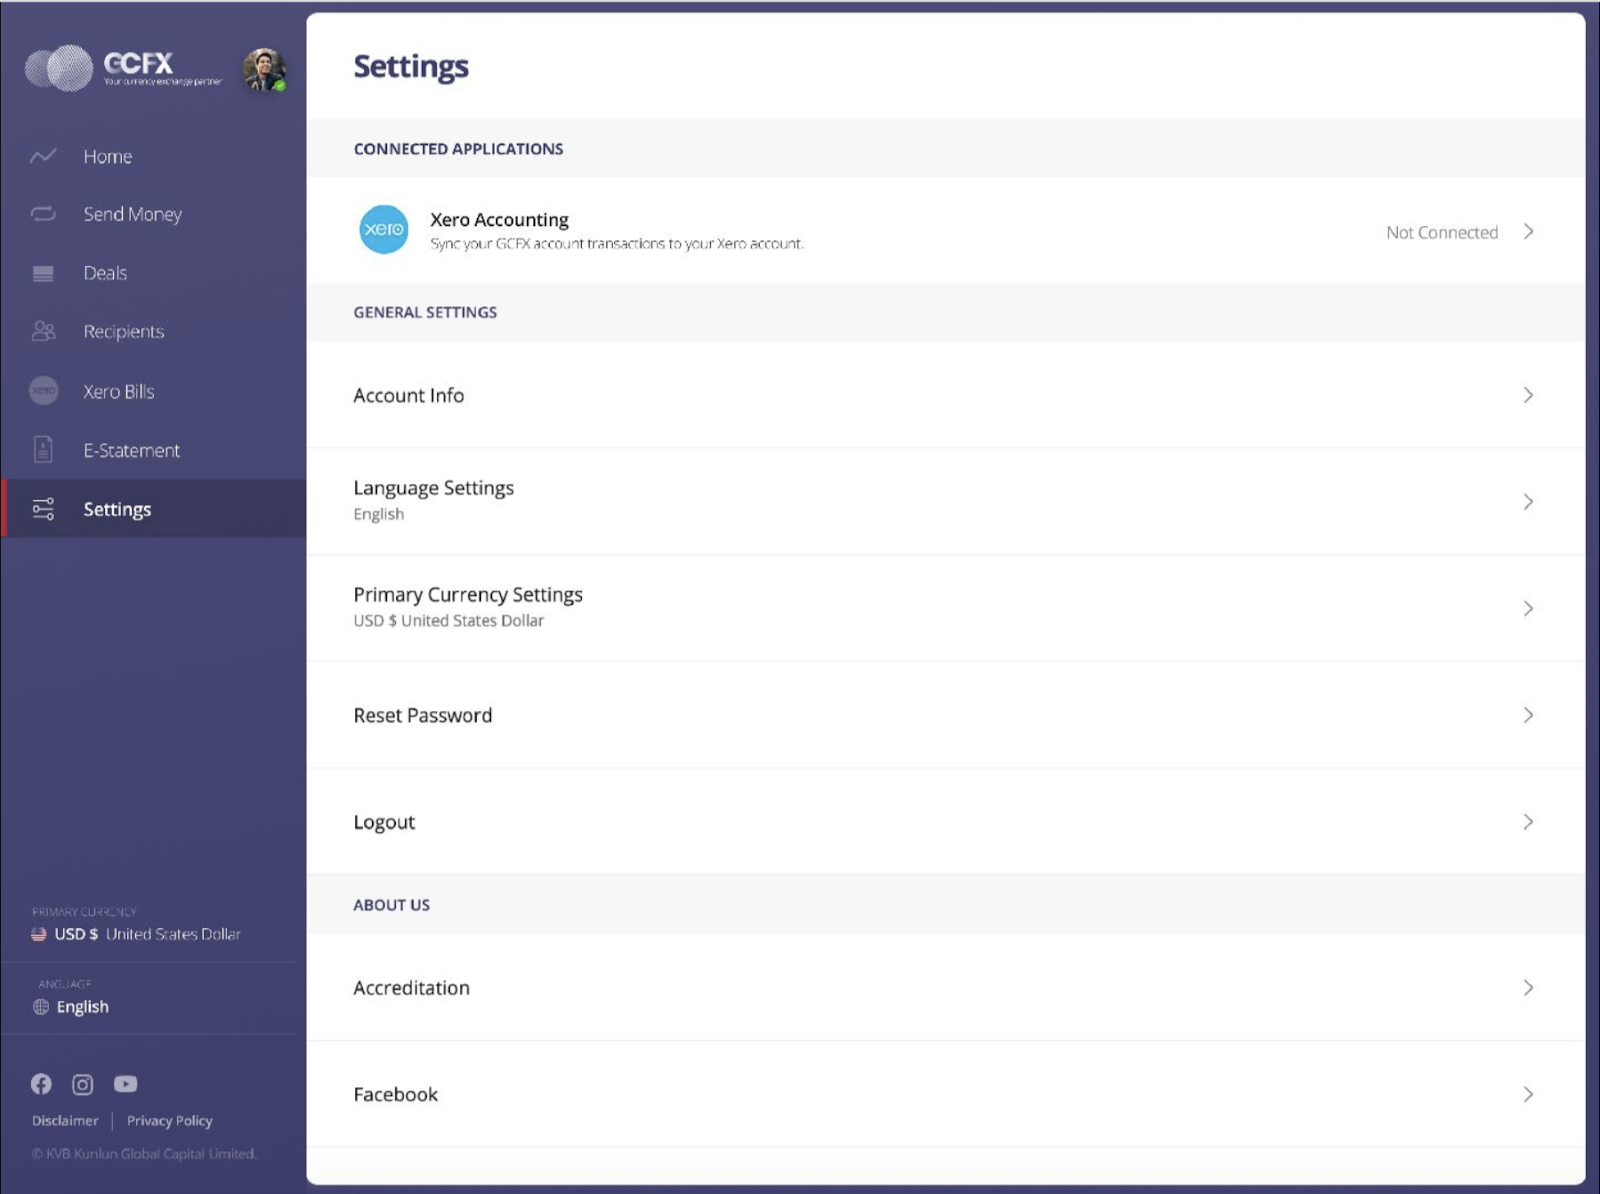
3. Click on the “Xero Accounting” row, you can start to connect with Xero from here
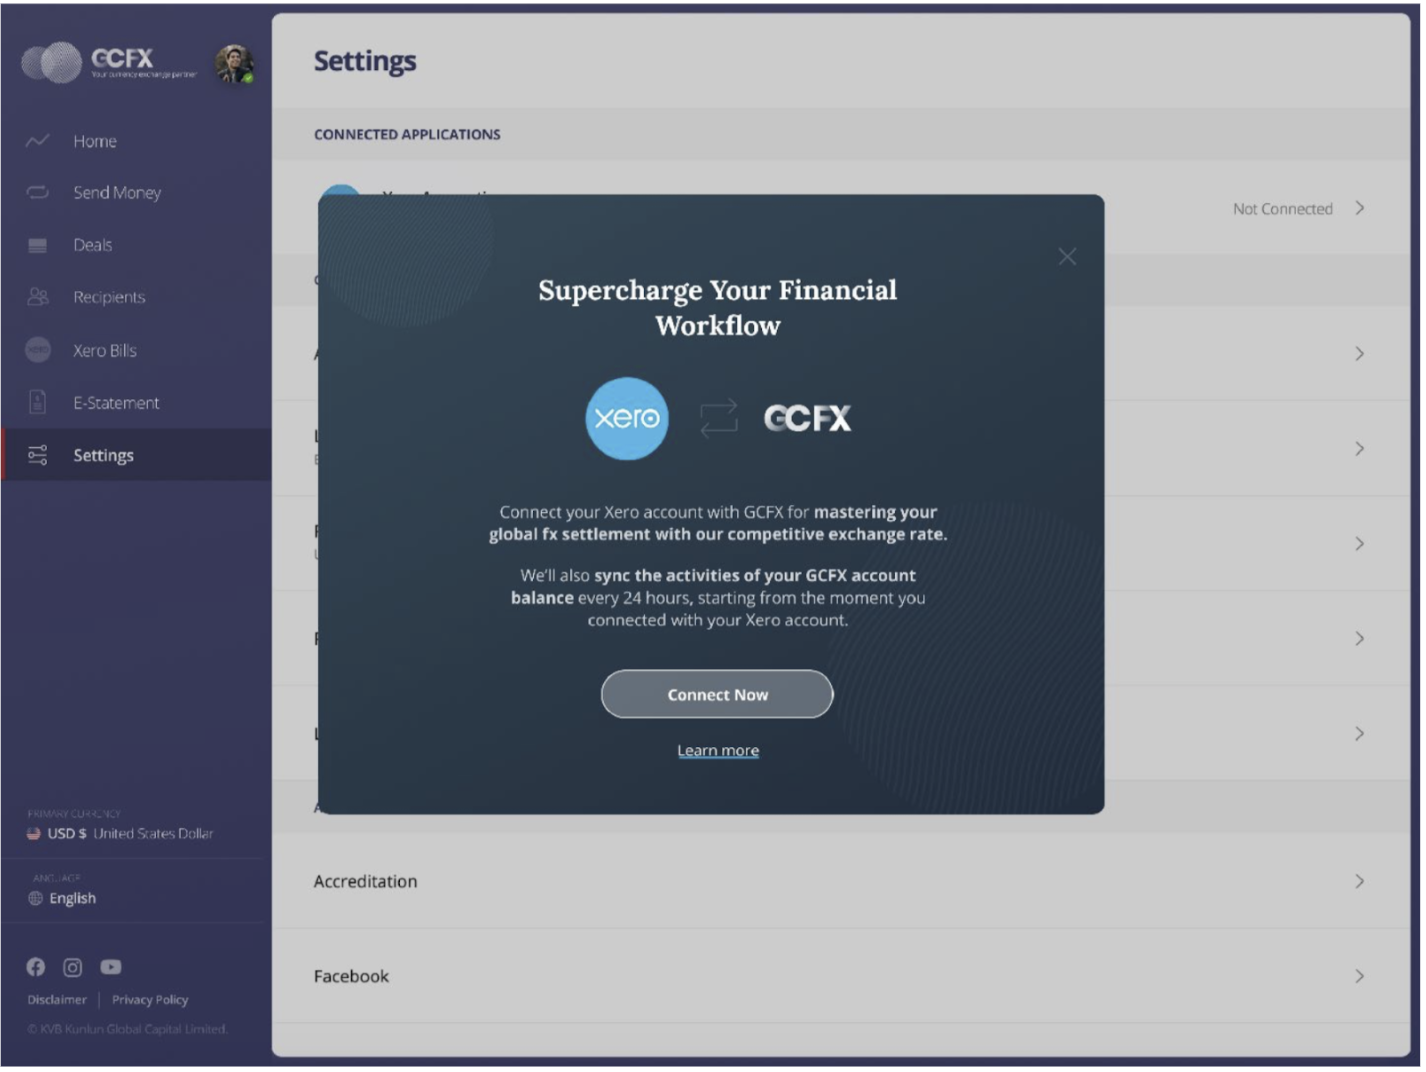
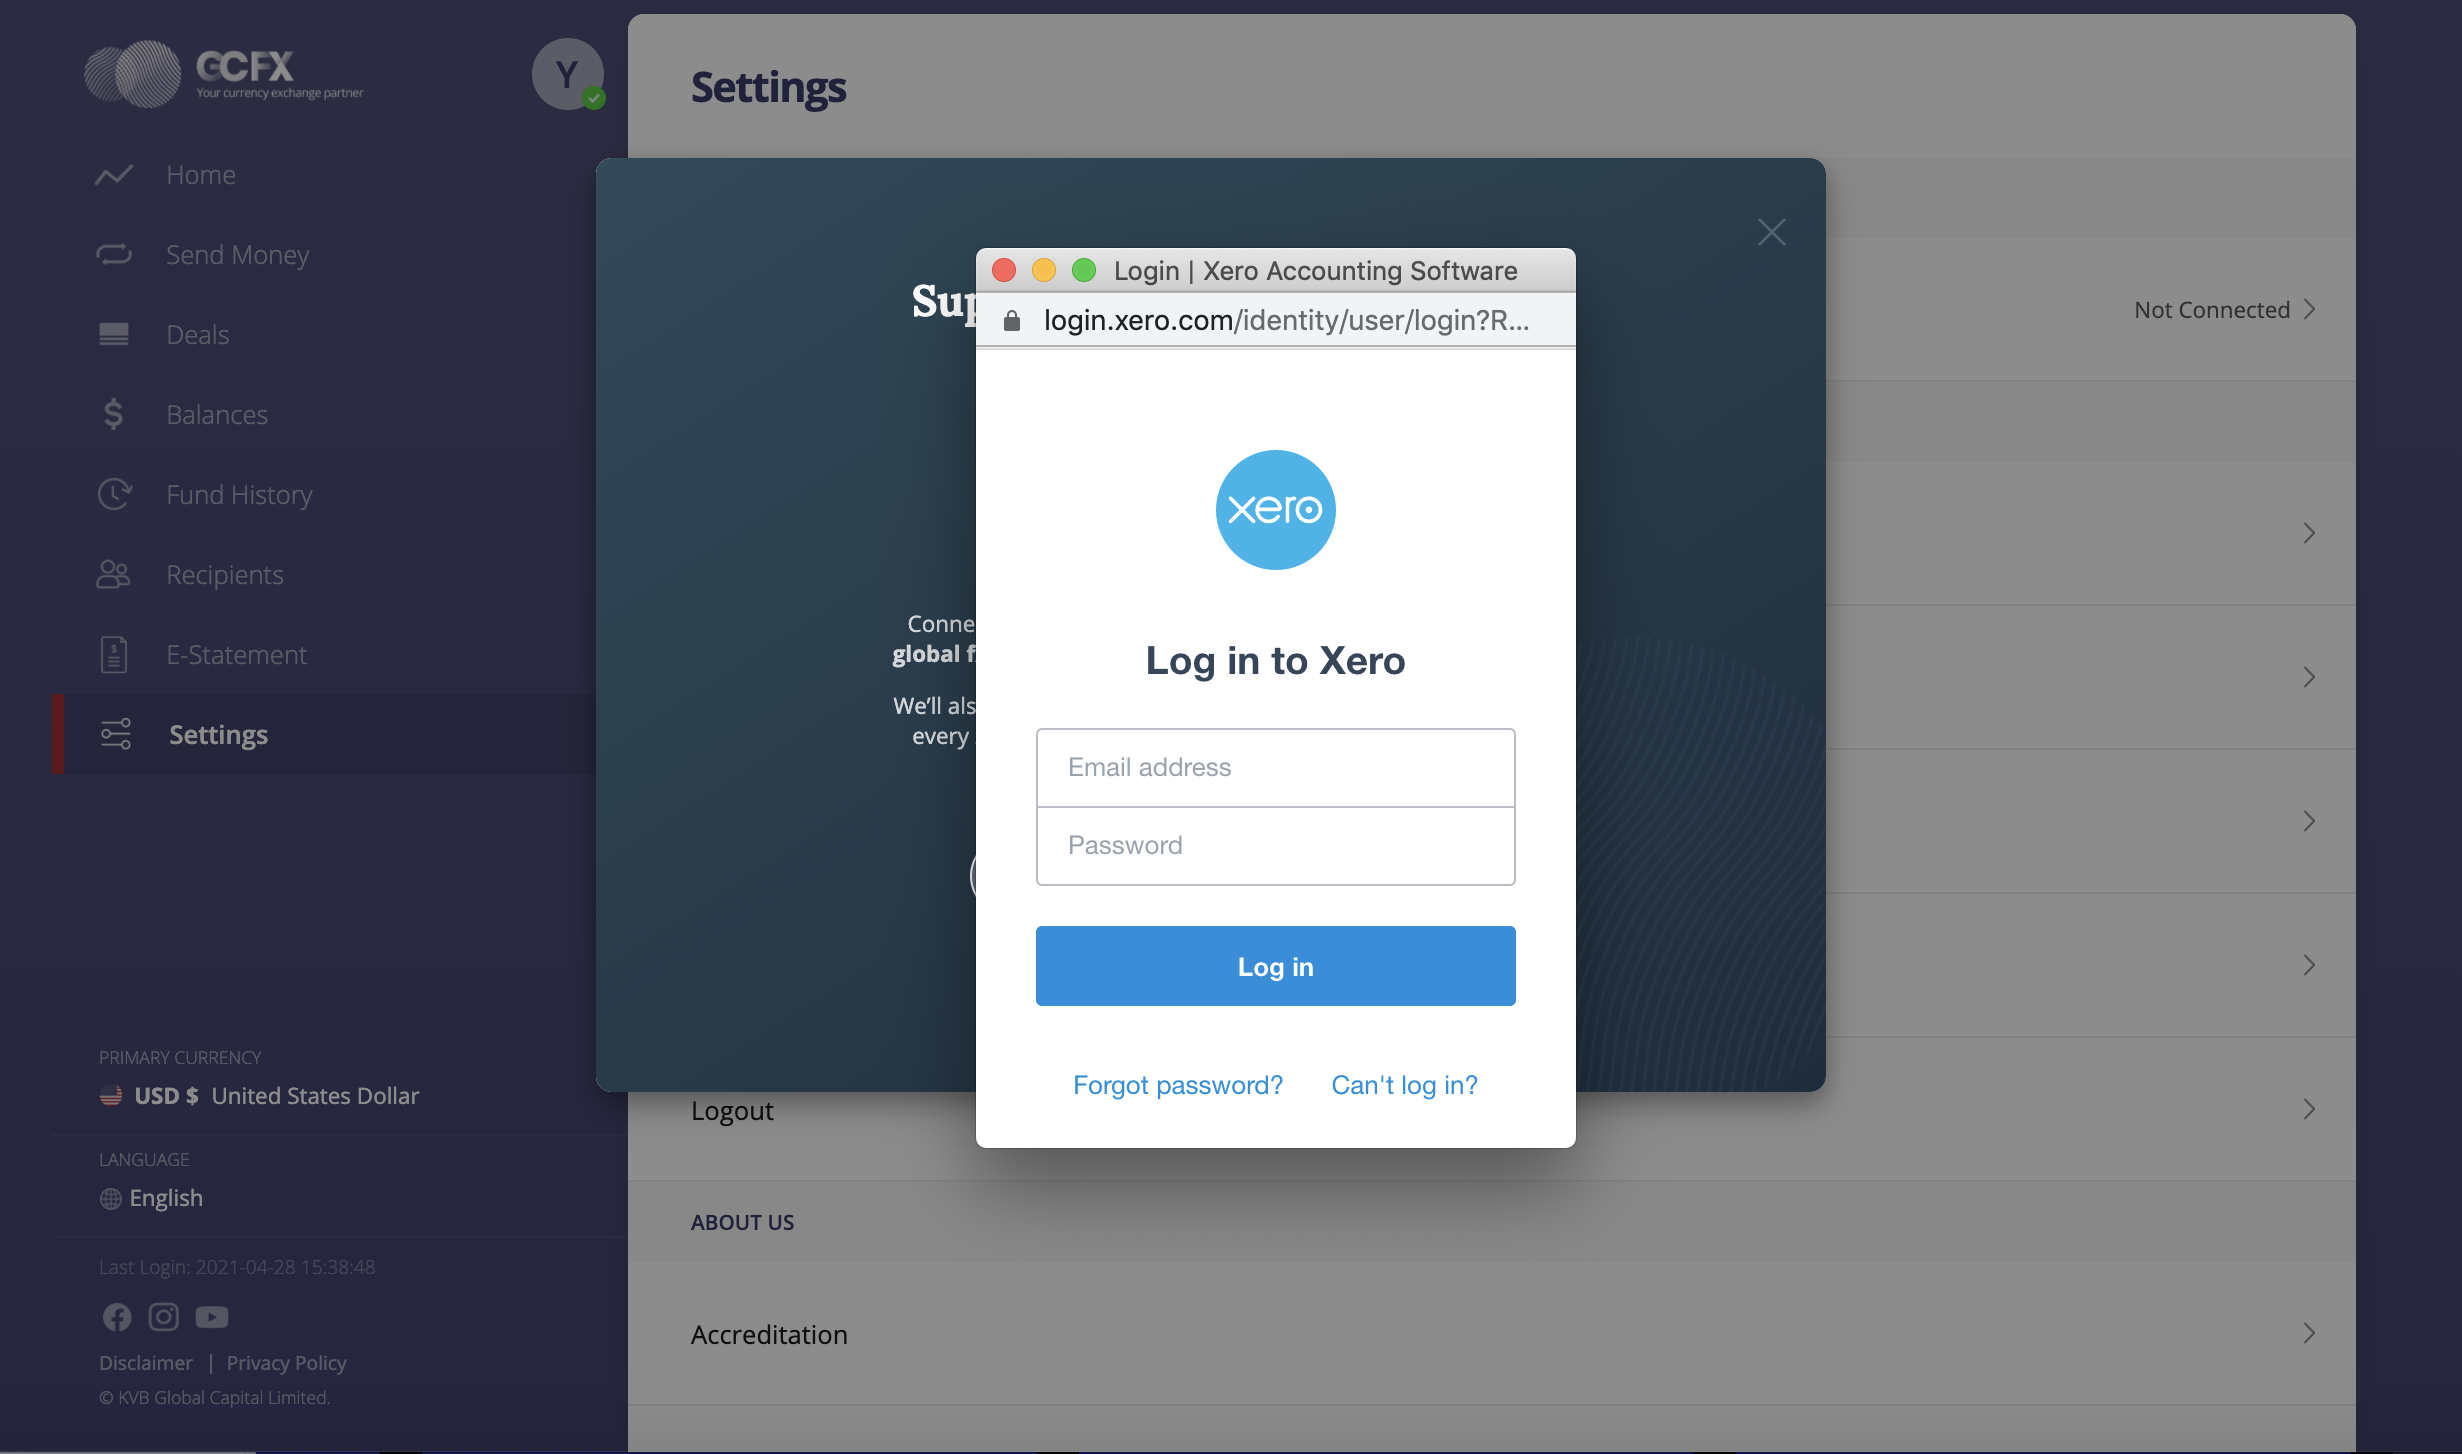
4. Login your Xero account on the pop up window.
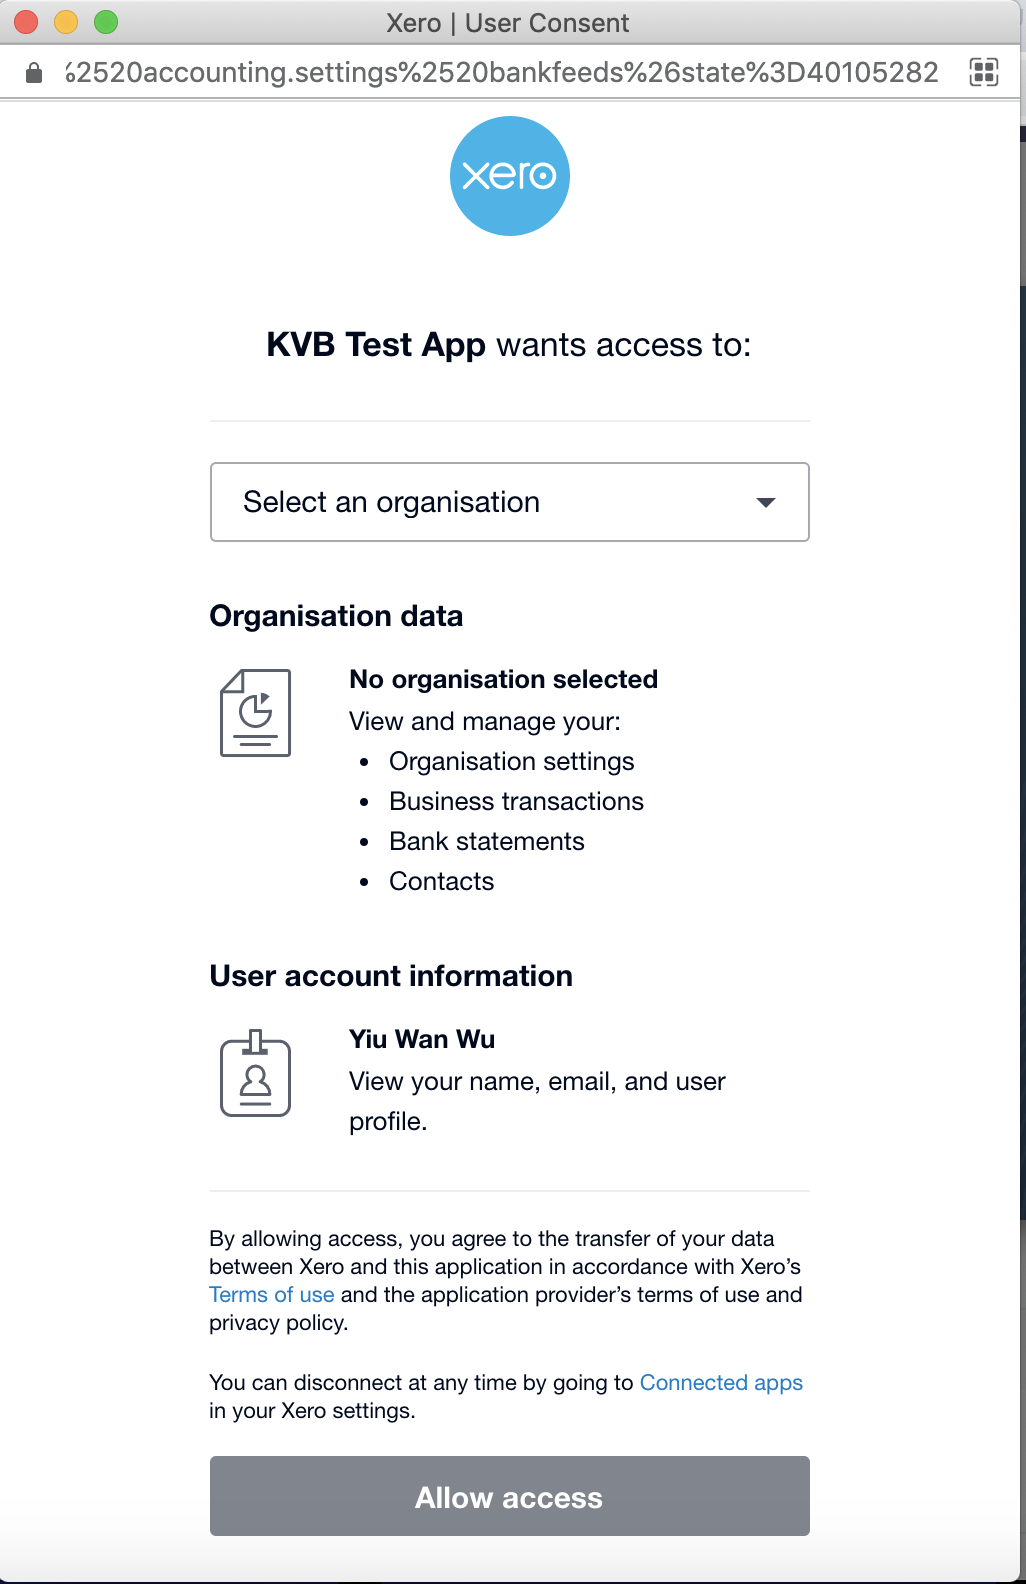
5. You can choose which organisation to connect to GCFX (Important note: GCFX only supports connecting to 1 Xero Organisation). After clicking “Allow Access”, Xero will process the authorisation of this connection
6. After connected, you will be presented a list of accounts with or without balance, those accounts are running in Currency which is used in your GCFX transaction before. (Check “Setting up your bank feeds Connection” page for how to proceed with connecting the bank accounts)
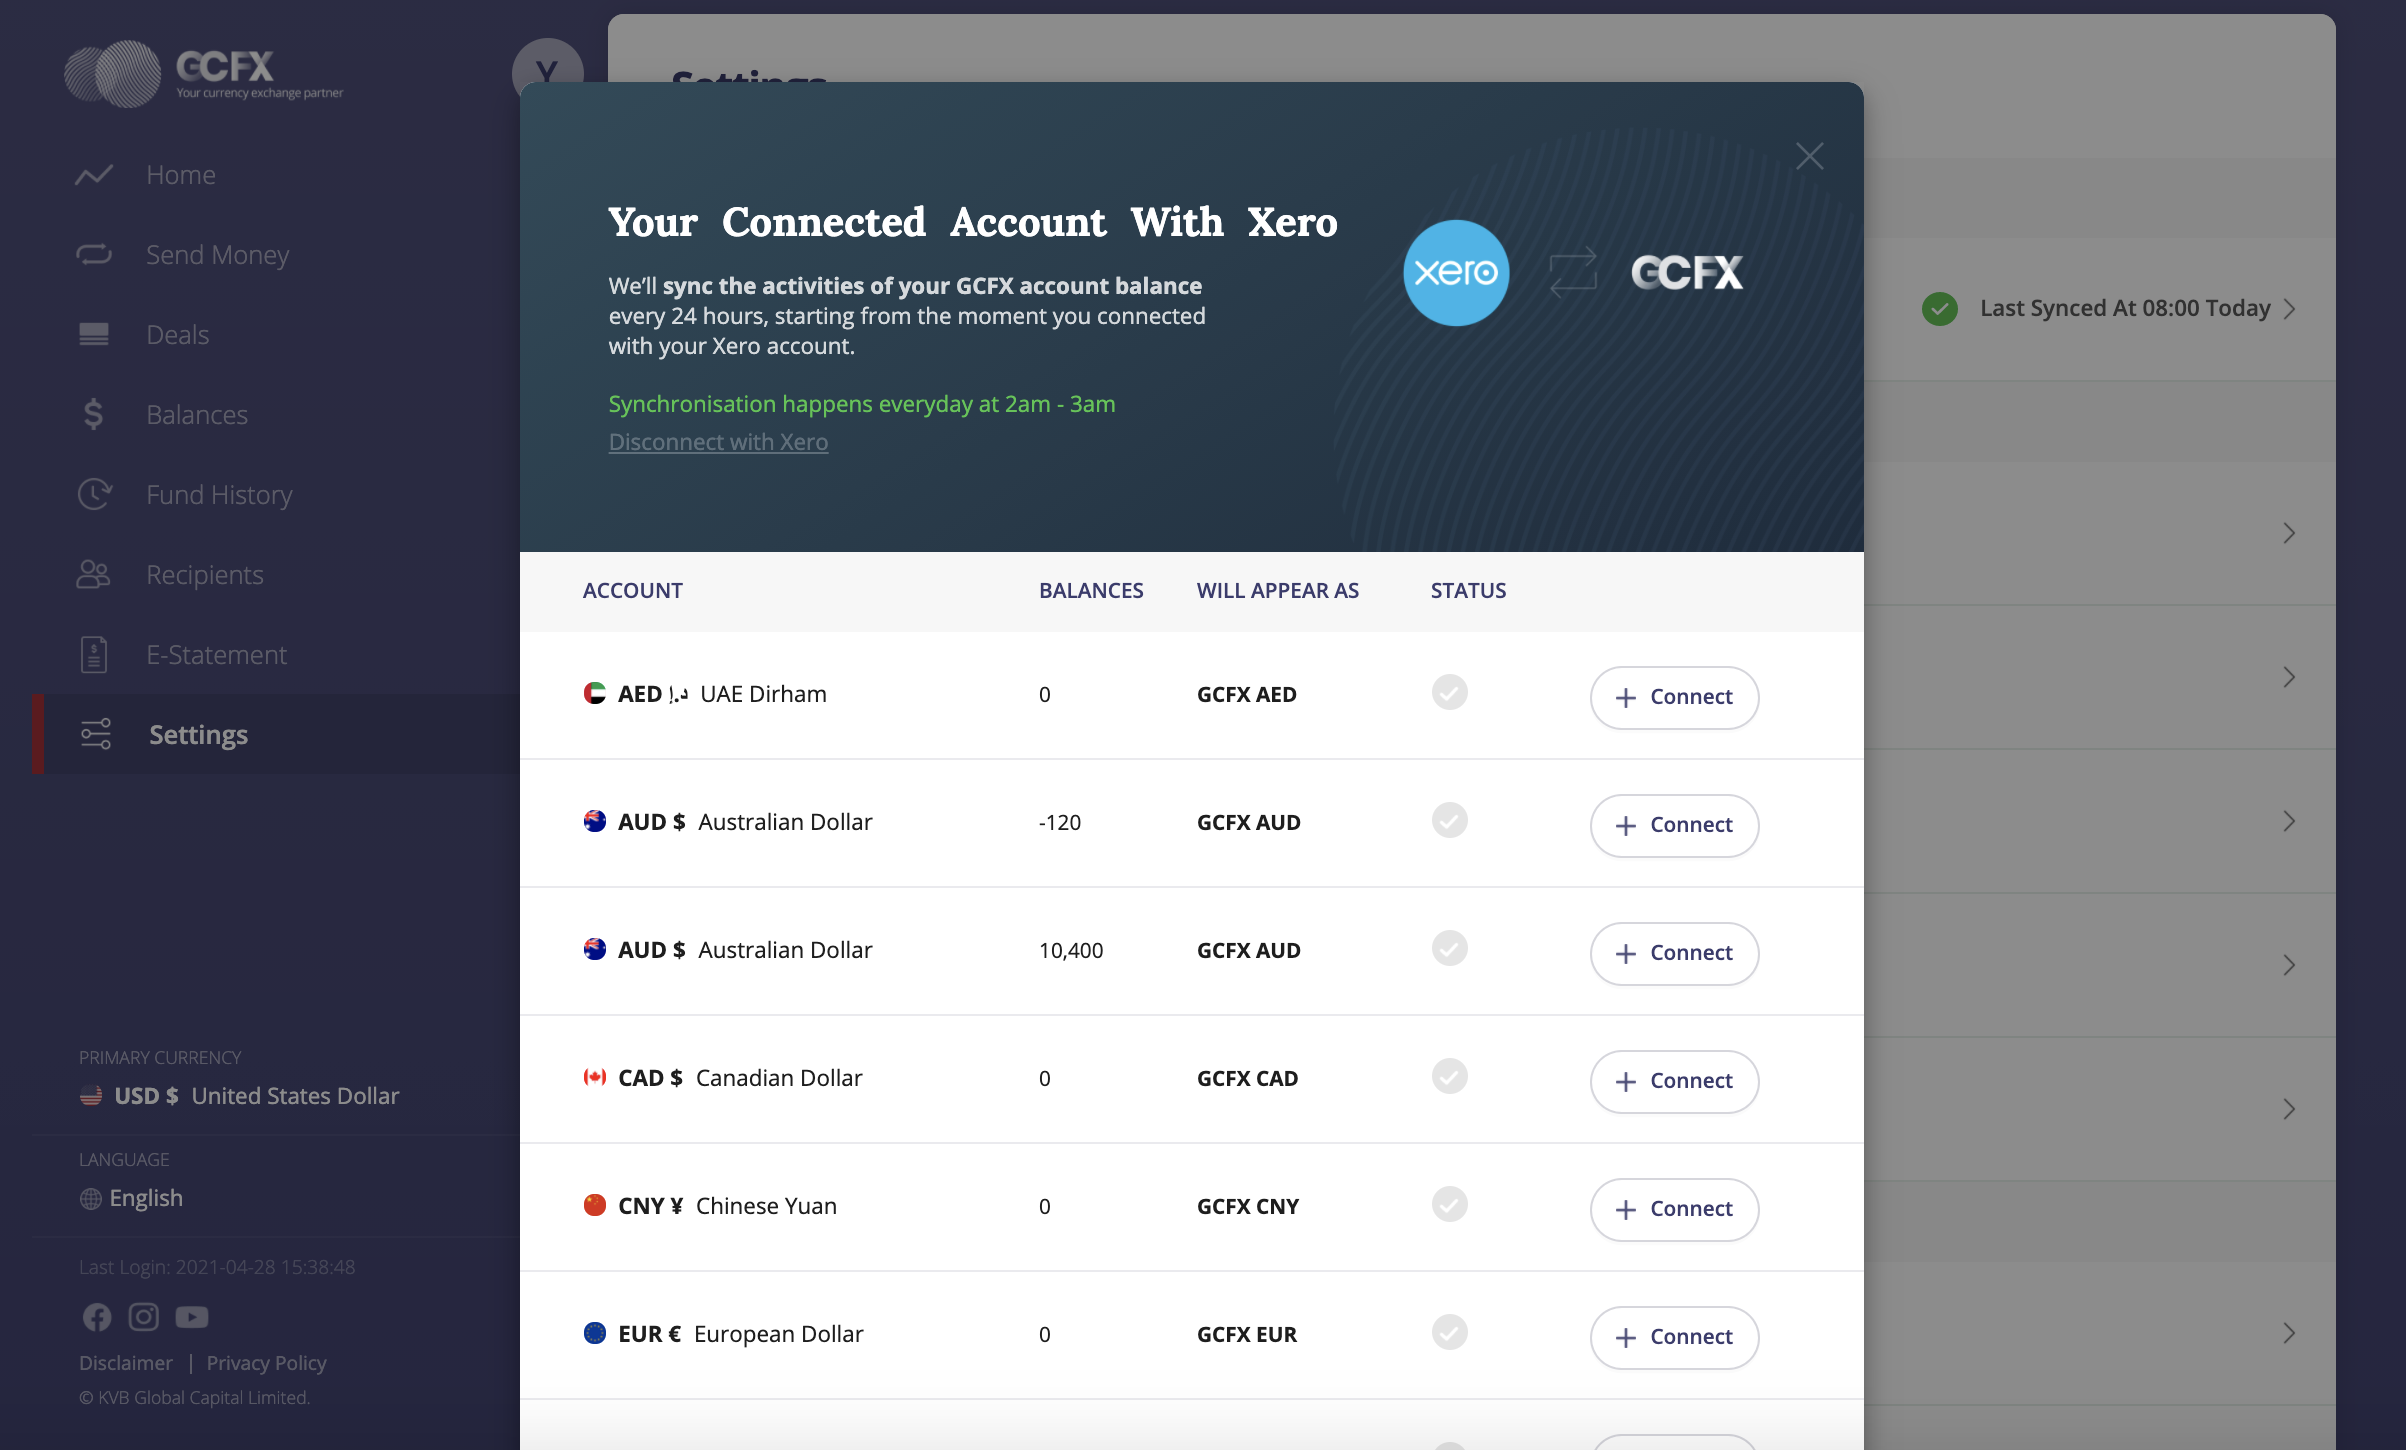
7. If the GCFX account is connected, customer should be able to see the activation status on the core setting panel. GCFX will synchronise transaction records from GCFX to Xero connected bank accounts everyday at 2am - 3am (at your regional time zone, e.g. if you register under our Australia entity, you will be getting the scheduled update at 2am - 3am Sydney time everyday)

Connecting from Xero
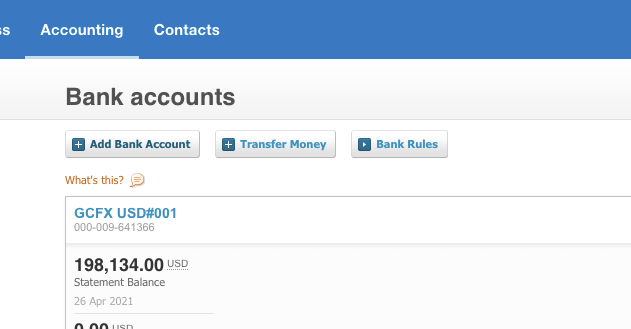
1. After you login on your Xero’s account, you can navigate to the “Accounting” Panel via the top menu and review “Bank accounts”.
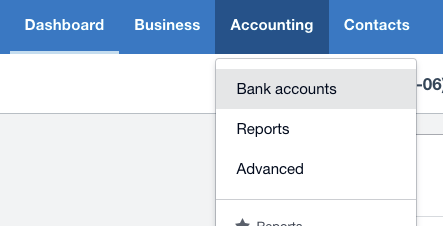
2.Select ”+ Add Bank Account” to start.
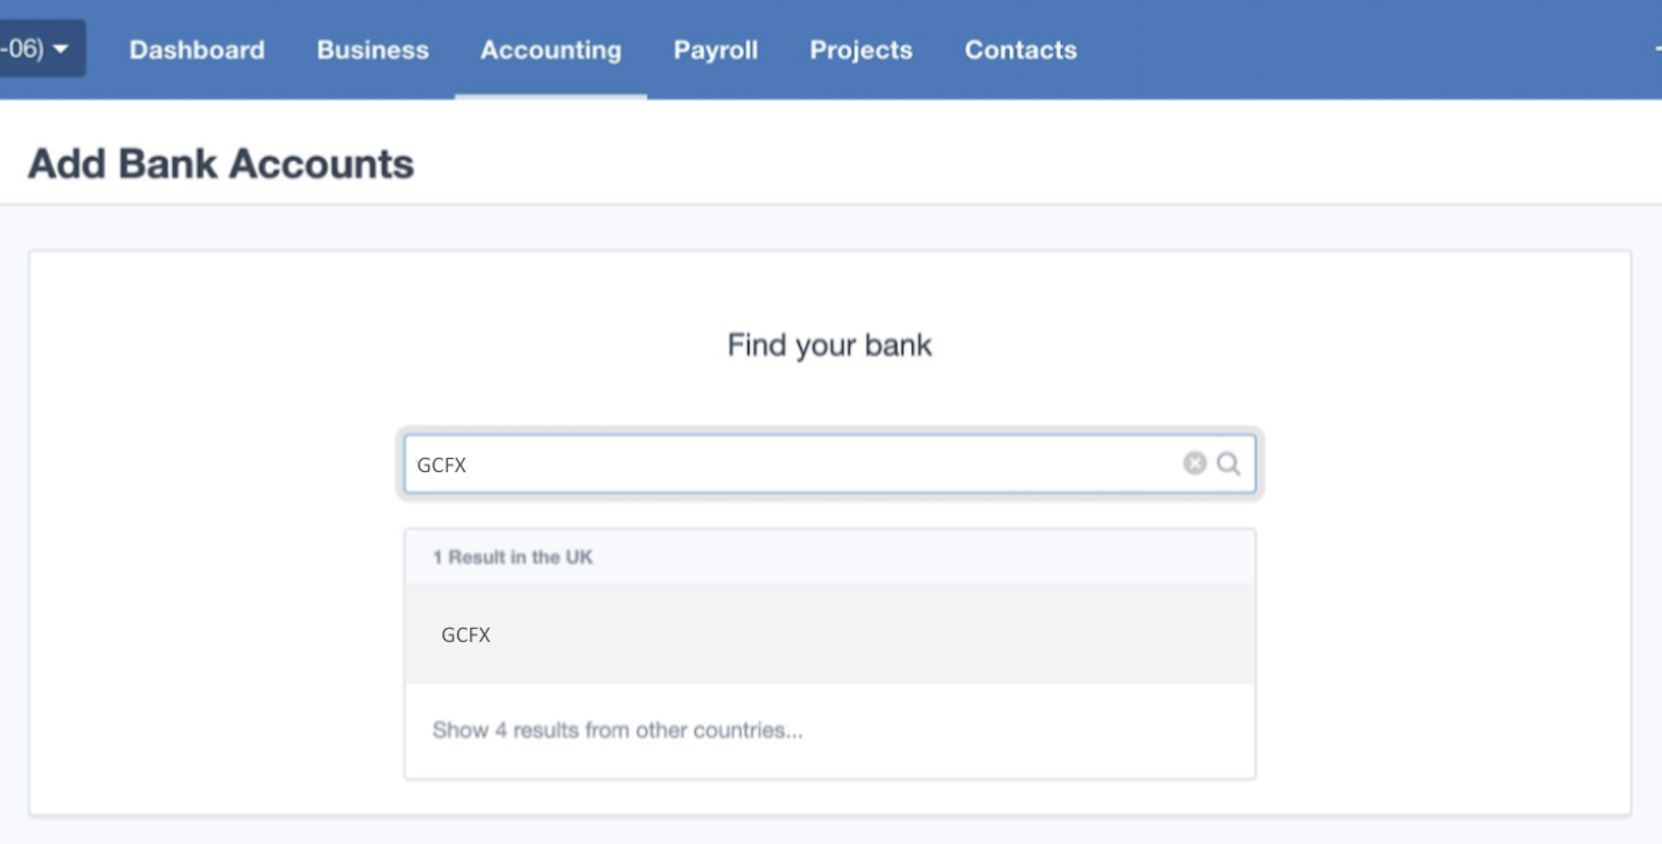
3. Search for “GCFX” on the “Add Bank Accounts” page
4. You will be redirected to a transition page to link to GCFX for the connection.
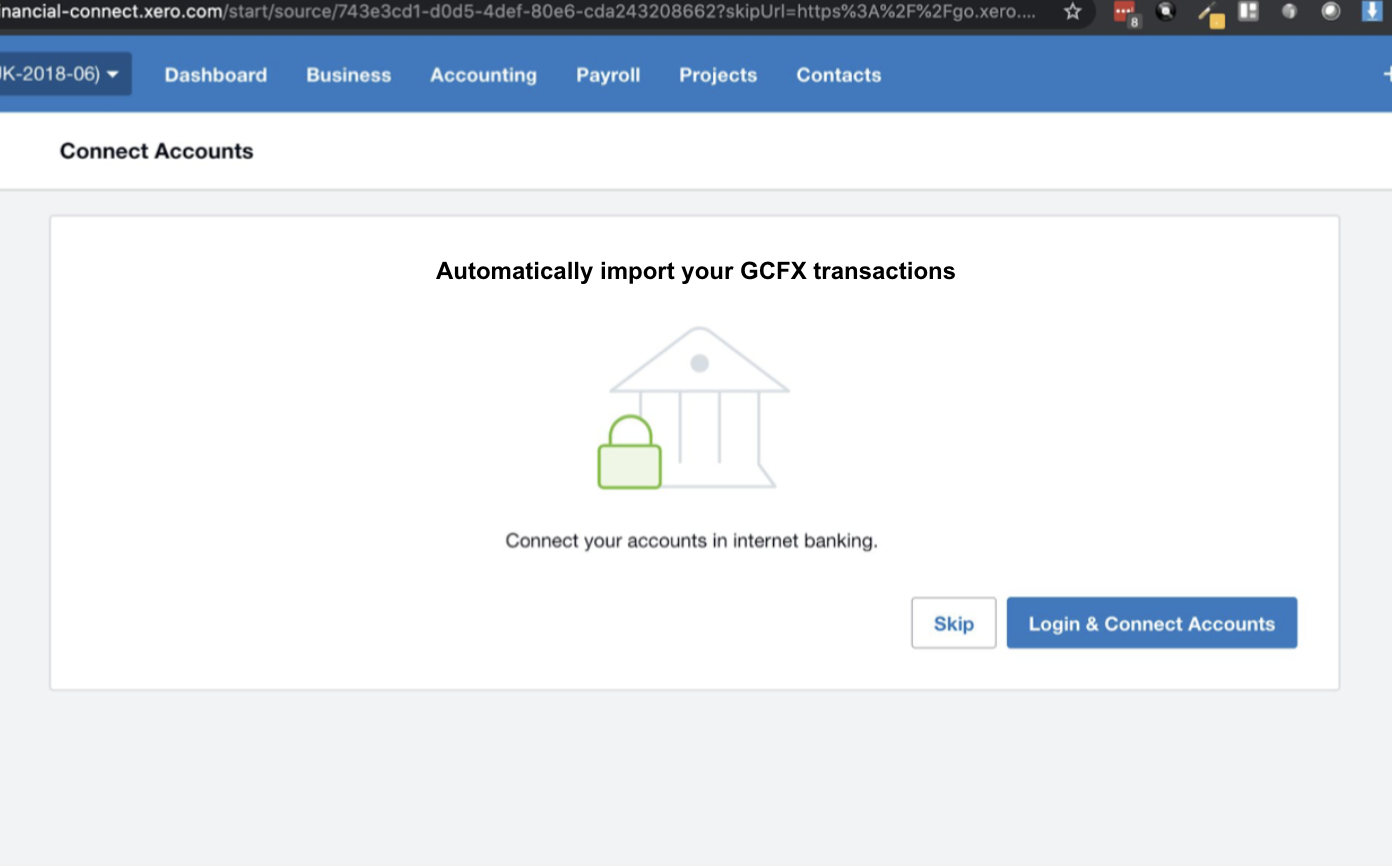
5. Login on GCFX and start your connections by referring to the steps of “Connecting from GCFX“.
Data Flow & Terminology
This is how you can expect your GCFX data to sync with Xero after connected:
